K.I.S.S.
The other day my boyfriend sent me a new sourdough recipe. Naturally, I asked what the hell was wrong with my sourdough, but he was quick to tell me that it was perfect – he just knows how I like to experiment, and he wondered if I might want to take a crack at this one. Good answer. So I took a look and holy hell! That recipe is the reason why so many people are afraid of making sourdough. It involves about a dozen extra steps (and I’m not even exaggerating – much), and all of those extra steps are very precious about timing and temperature and all of the things that beginners should not worry about.
I have done a lot of experimenting with a plethora of recipes and subsequent tasters who, while mostly friends, are not shy about telling me what’s what. But I have yet to present my tasters with a loaf they don’t devour. I have, in fact, begged for some kind of criticism just to help me refine my own recipes, but no one can ever seem to stop stuffing their face long enough to tell me much besides a muffled “MMMMMMM!”
And let me assure you, I’m not a baker. I leave the baking to my sister, the Cookie Contessa (seriously; her cookies are insane). I’m a decent cook, but I play pretty fast and loose with the majority of recipes that I use, if I even use a recipe. I’m not precise enough for baking. I don’t even bake other kinds of bread. So if I can make good sourdough, anyone can. And everyone should be able to have that heavenly aroma in their own home. Obvie if you love it there are a million ways to experiment; endless variations. I’m not one for sharing recipes, but I think people should understand that it’s just not as complicated as folks like to make it out to be.
This recipe comes from Emilie Raffa via theclevercarrot.com. I highly recommend checking out her site – she’s kind of my sourdough guru. Most of the links in this post go to various pages on her site so just click somewhere to check it out. I like this recipe because the olive oil makes the dough much easier to work with. I have since adapted it in myriad ways according to what I want my finished product to be, and to the conditions in my kitchen at the time that I am baking.* But trust me, this is a good starting point, and you will work out all of the variables for your specific environment/preferences as you go.
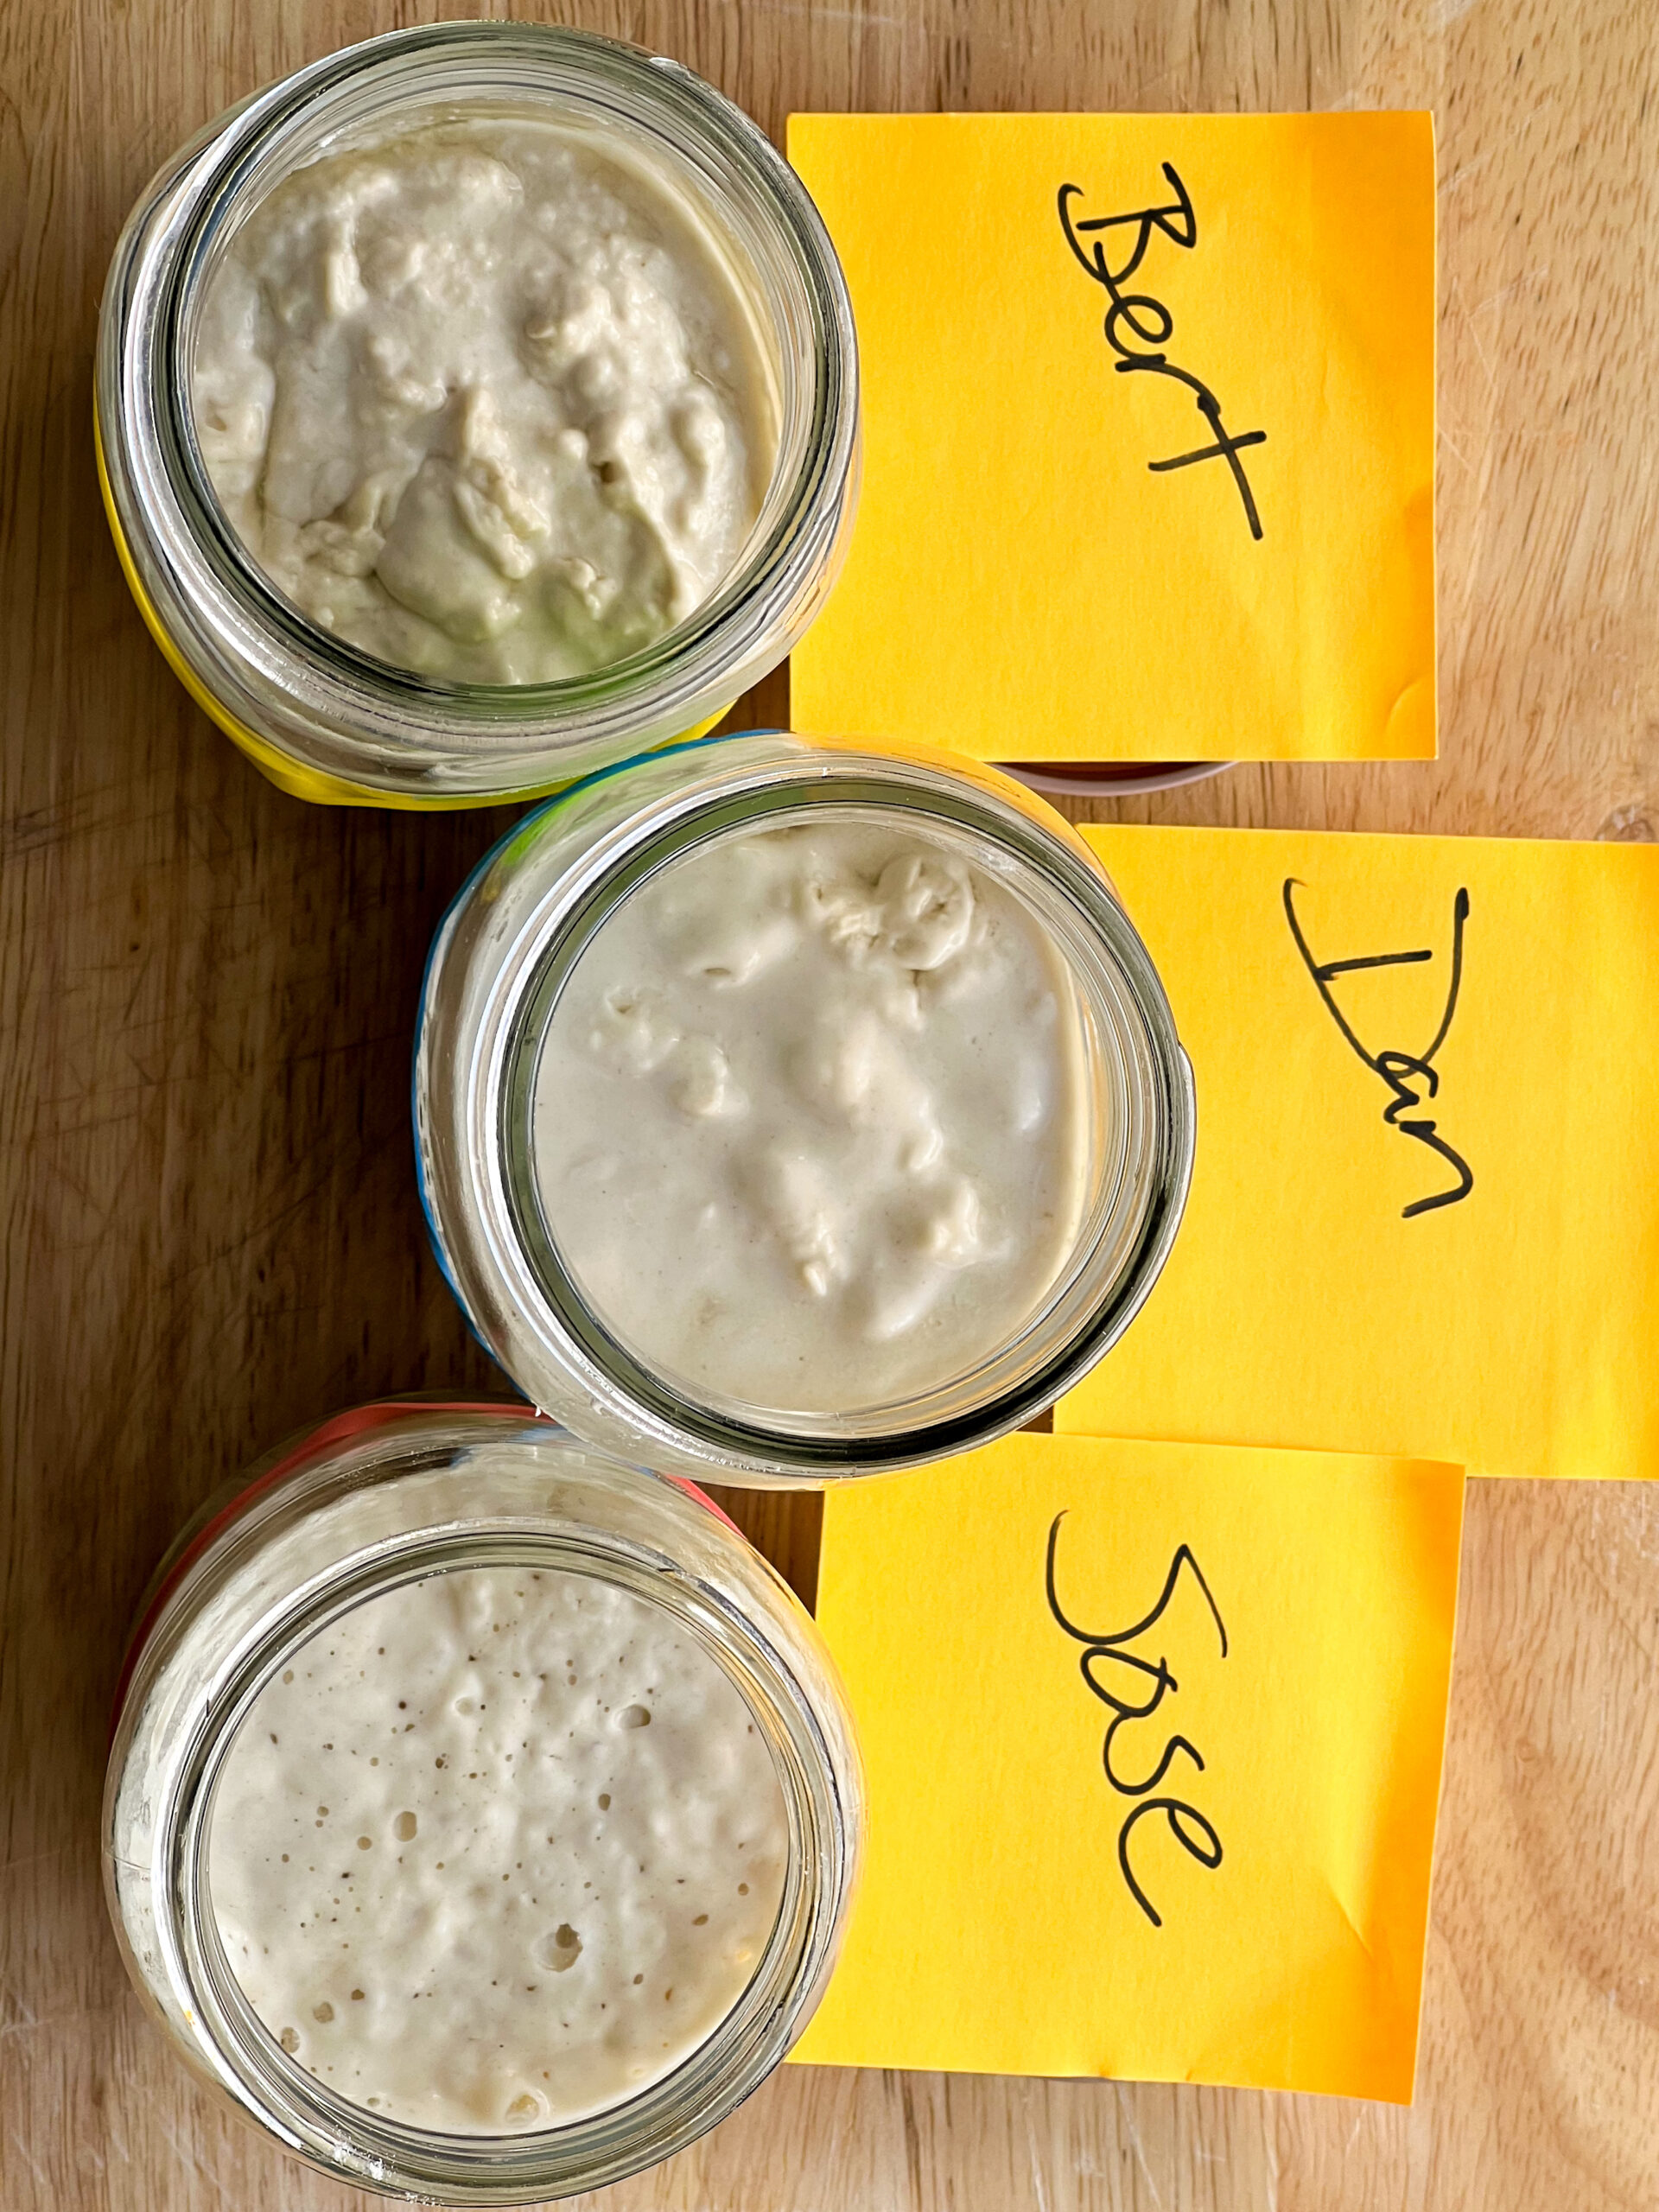
150 grams bubbly starter
250 grams warm water (not hot)
25 grams olive oil
500 grams AP flour
10 grams sea salt flakes
Here is where I divert slightly from Emilie by eliminating a few steps. I combine all of the ingredients in a large mixing bowl – just throw them in there. I have a Danish whisk that I like, but if you don’t have one it isn’t necessary; just get in there with your hands (I would recommend getting/using a scale).
When all of the flour is well combined, cover the bowl with a damp towel and set aside to rest for at least half an hour, an hour if you have it.
After it has rested, work the dough into a ball – in the bowl – by pulling the dough away from the side, then up, over and into the center. Repeat 4 or 5 times, turning the bowl as you go, until you have a fairly tight ball. Replace the damp cloth and set aside for the overnight bulk rise.
When the bulk rise is finished (when it has doubled in size), ease the dough onto a floured surface. Use a bench scraper to lift one side and fold it toward the center; repeat with the other three sides. Flip the dough folded side down and gently cup the dough – with floured hands – moving it in a circular motion until you have tightened the shape (Emilie explains this part much better than I).
If you have a banneton basket, great, if not, line an 8-inch bowl with a dish towel and flour lightly, then carefully turn the dough into the basket, seam side up.
Cover and let rest for another 30 minutes (at this point you can actually leave it in the fridge for up to a day).
Preheat oven to 450 degrees.
Flip dough from basket onto parchment paper or a bread mat and score (bread lames are great- sharp knives work just as well); place in Dutch oven.**
Some peeps like to preheat their Dutch oven – I do not.
Bake, covered, 30 minutes.
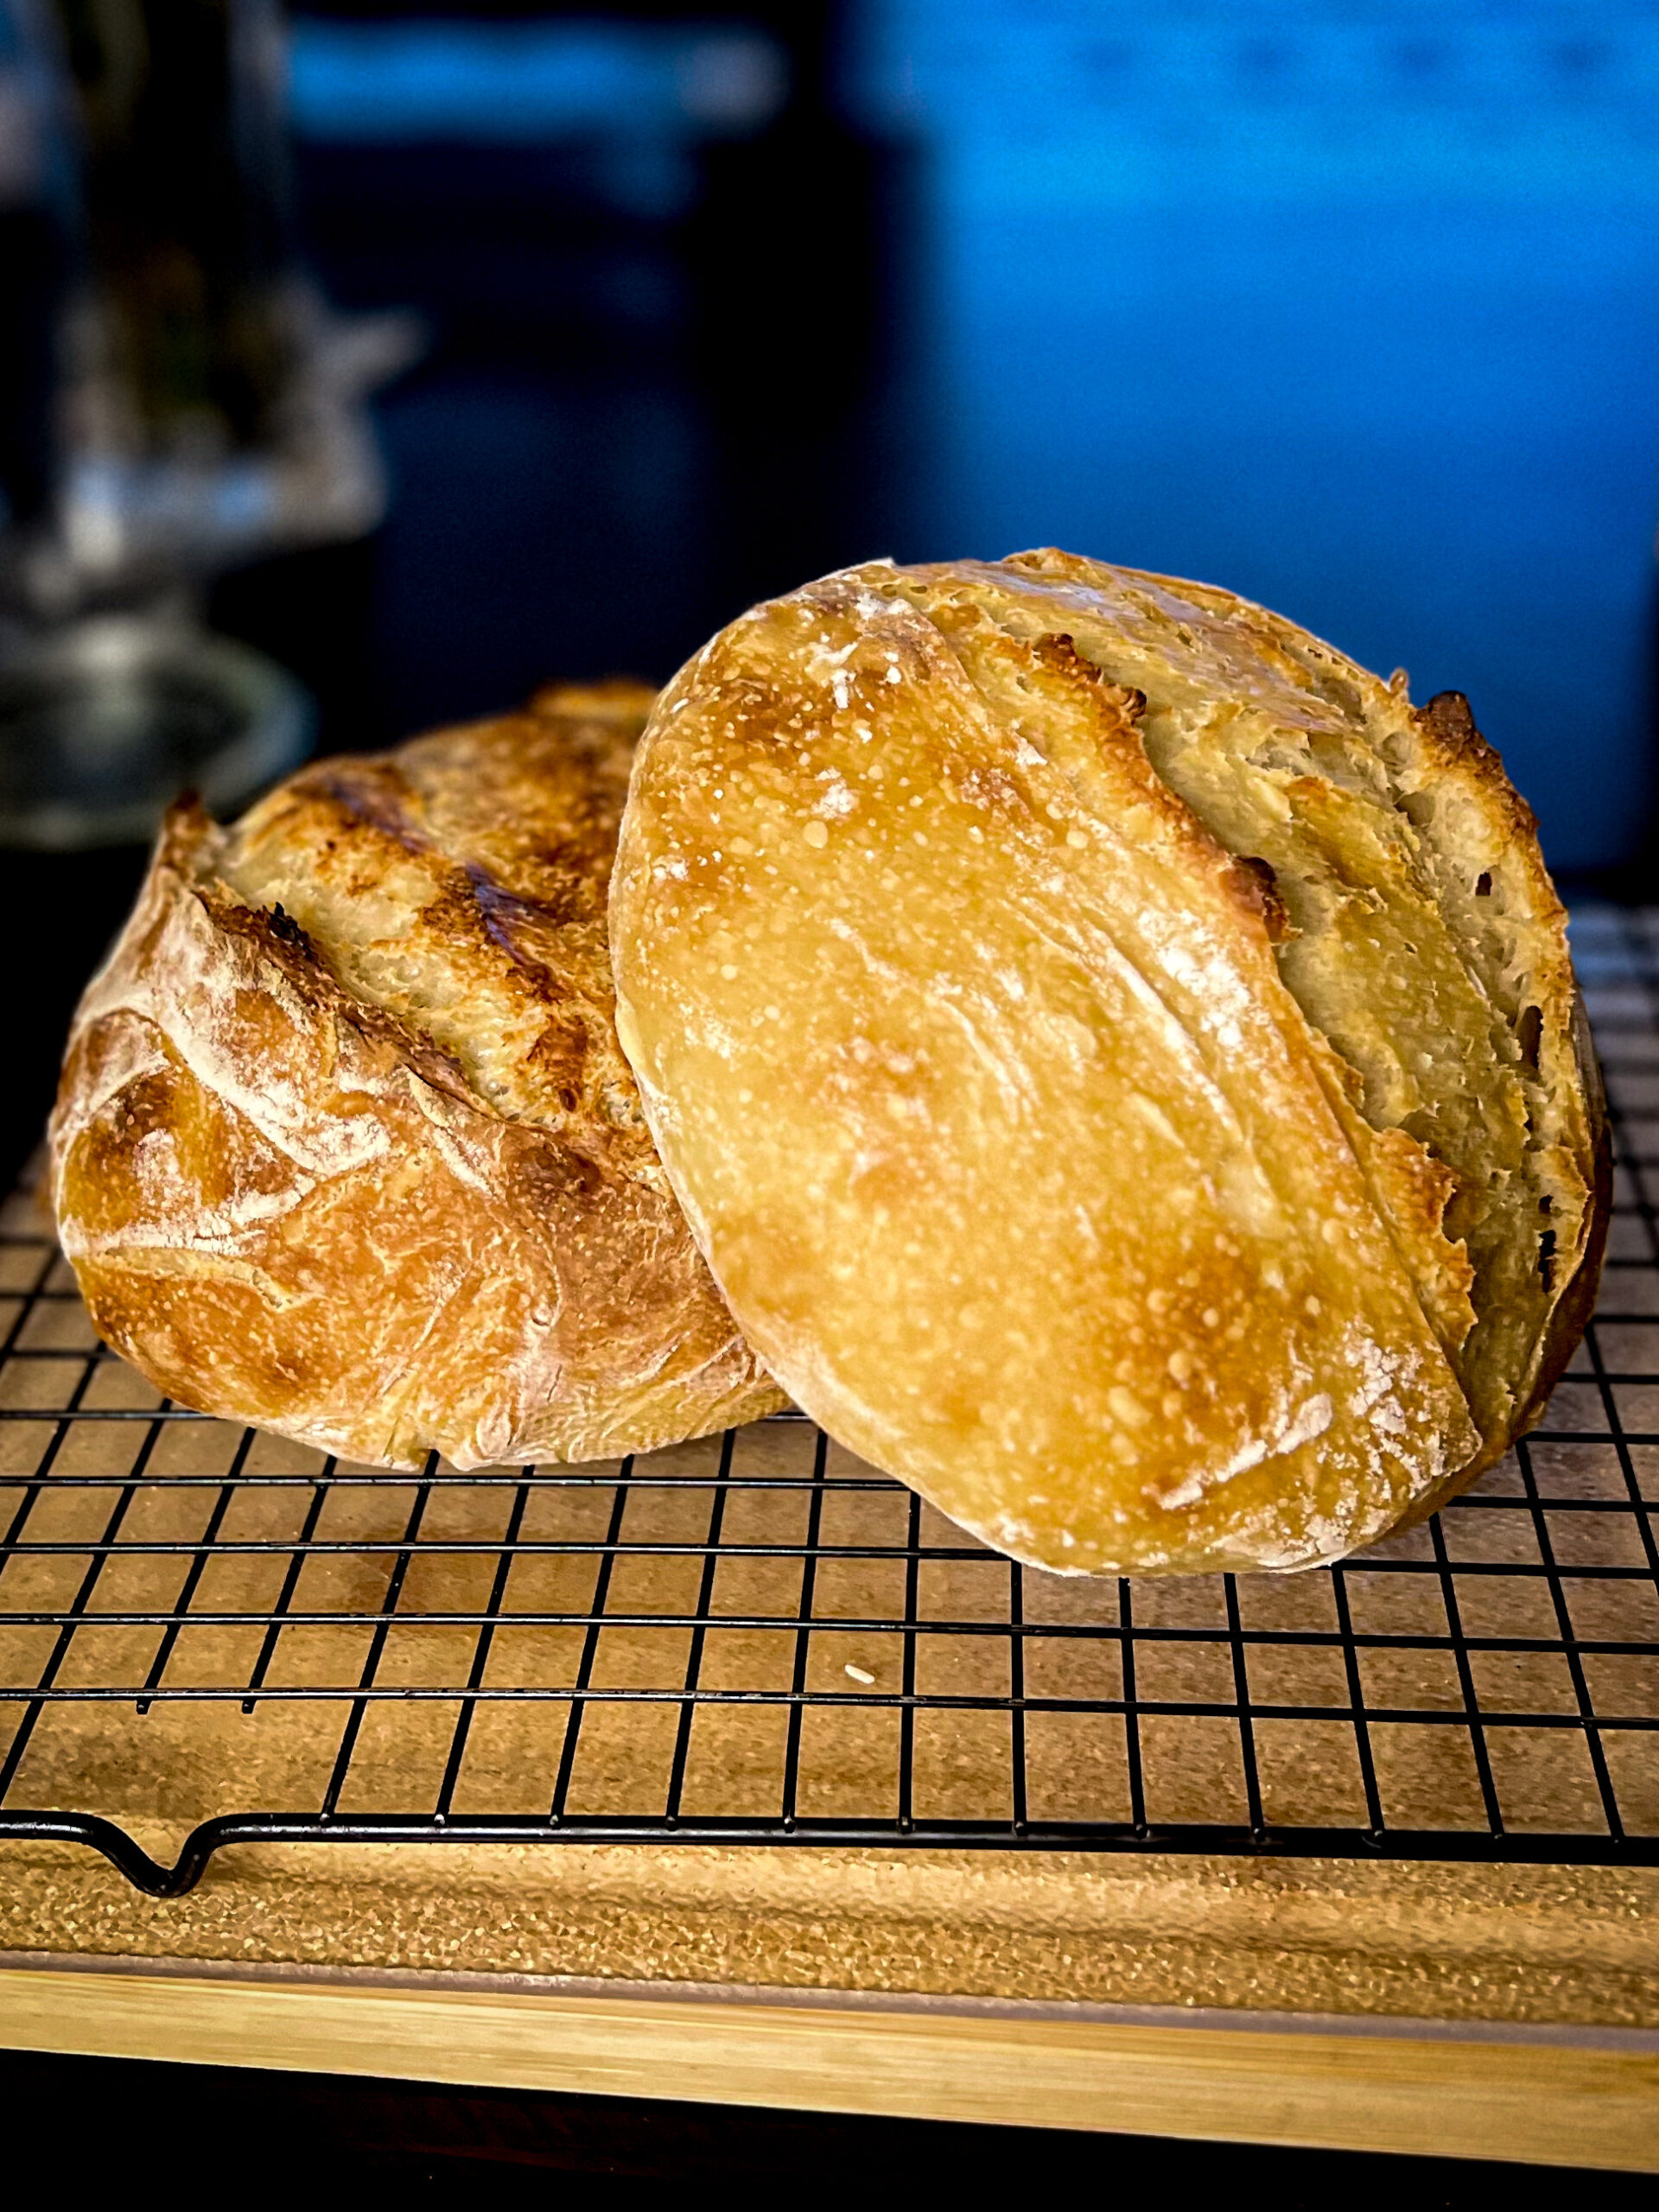
Remove the cover and bake an additional 20-30 minutes (this time can vary greatly depending on your oven and altitude. I suggest checking it every ten minutes the first couple of times, until you know how long it takes to get that marvelous golden brown).
Remove from the oven and leave on a cooling rack for at least one hour. This is important (and so hard to do!) because if you cut it too soon it negatively affects the structure. I don’t know exactly how or why – because it’s chemistry and chemistry is my nemesis – but it’s worth the wait.

*While this is a very forgiving recipe, you will want to make sure it isn’t too hot or too cold in your baking environment – mid 60s to mid 70s.
**Your Dutch oven does not have to be a fancy Staub or Le Creuset; the bread my sister and I make for our dad in his century old cast iron is just as good – possibly better. There are plenty of suitable options out there for under 50 bucks. My bestie would suggest checking estate sales.